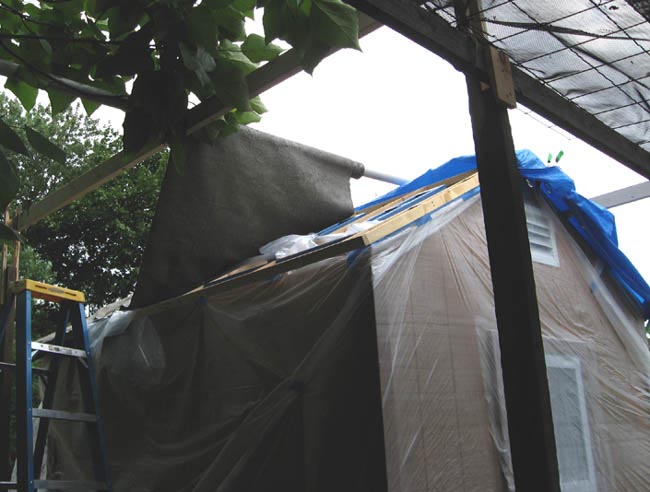
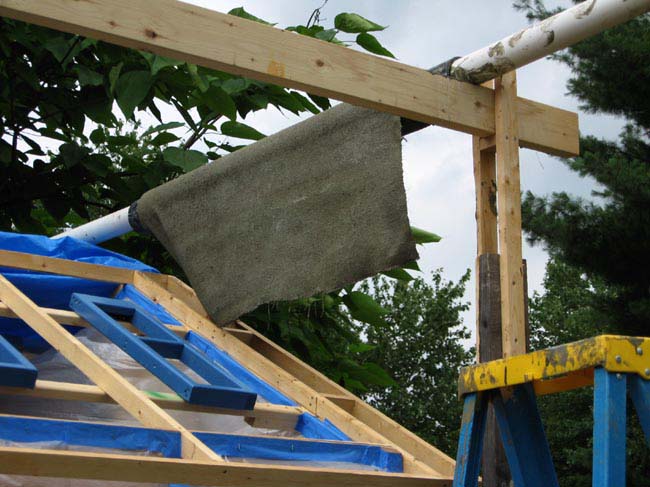
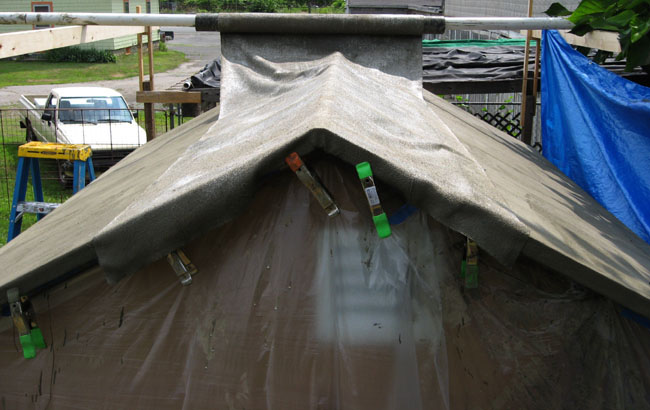
After the cloth has been soaked with acrylic and cement and rolled onto a short length of black plastic pipe, it can be easily carried and put in position above the roof frame. The short length of pipe slides over a longer piece of white pipe which can roll on overhead supports for the length of the roof.
The temporary supports between rafters are easily covered with a small piece of plastic after the cloth has been placed. Slide the plastic between the support and the material so it does not stick to the temporary support. A release material such as wax was not used because it could interfere with the bond to additional material applied inside.
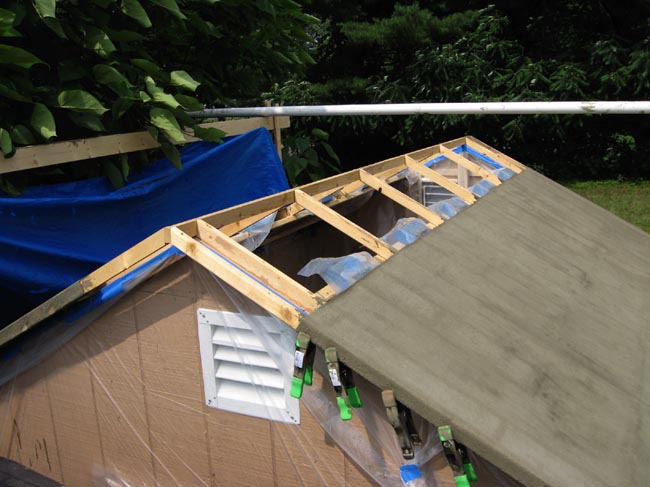
Staples were also used to hold the cloth. Surprisingly, the staple gun was not harmed by sticky material. Quite a long time is available for positioning the burlap and stapling it neatly into position. A razor blade knife will trim where necessary up to a full day later. Scissors used to make any cuts need to be cleaned immediately because they penetrate into the fiber center which remains moist longer than the outside which is in contact with the air.
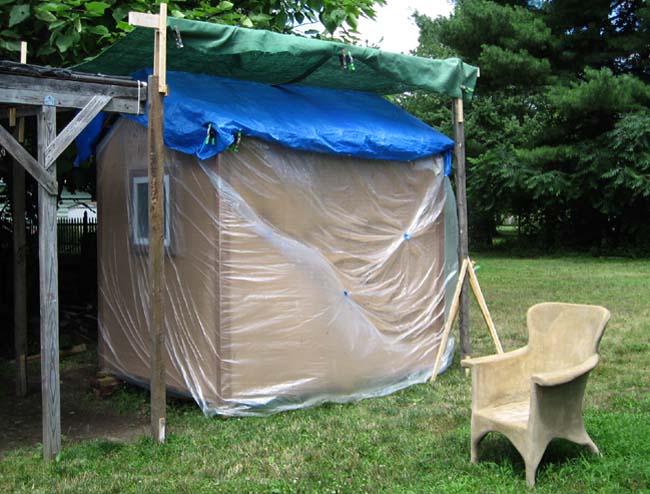
Apply second coat of acrylic and cement mixture and cover the fresh composite roof with plastic and shade cloth so it does not dry before the cement crystals grow to good strength. Shade cloth can be made by painting burlap with highly diluted paint. Apply a third thin coat the next day. Sieve the cement, using a trowel, through a window screen set on wire mesh if the cement has excessive small lumps which create a rough surface.
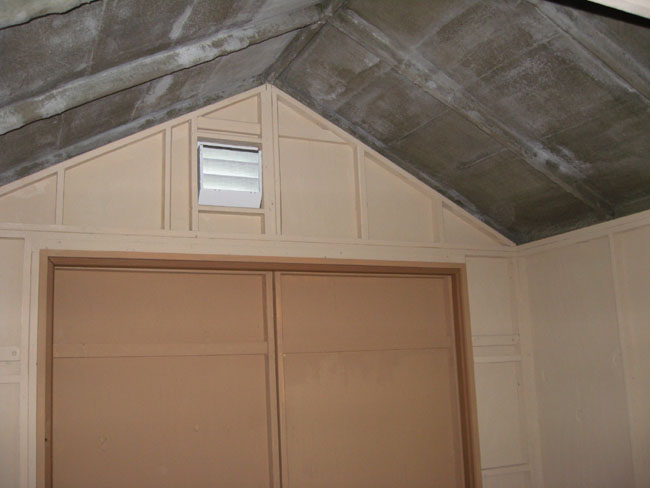
Inside of finished roof.